I often hear from fellow makers asking why is my laser engraving blurry on acrylic, a common frustration that can ruin expensive materials. It feels disheartening when a project you spent hours designing comes out with fuzzy edges instead of crisp, clean lines.
In this guide, I will walk you through the diagnostic steps I use to identify the root cause of these poor results. By following my systematic approach, you will learn the essential techniques for fixing blurry laser engravings and restoring the professional quality of your work.
Precision is the hallmark of a great maker. I aim to provide you with the clarity needed to troubleshoot your machine effectively. You will soon achieve sharp, precise results every time you fire up your equipment.
Key Takeaways
- Check your focal length to ensure the beam hits the surface perfectly.
- Clean your lens and mirrors to prevent beam scattering.
- Verify that your material is flat and secured to the bed.
- Adjust your speed and power settings for optimal material interaction.
- Inspect your machine for mechanical vibrations that cause ghosting.
Understanding Why Is My Laser Engraving Blurry on Acrylic
When I notice my projects lacking sharpness, I immediately look at the fundamental physics governing my laser system. Many operators ask, why is my laser engraving blurry on acrylic, without realizing that the solution often hides in the basic calibration of the machine. By mastering these core concepts, I can effectively eliminate common acrylic engraving distortions that ruin otherwise perfect designs.
The Physics of Laser Beam Focus
The laser beam is essentially a concentrated point of intense energy. For the cleanest cut or mark, this point must be perfectly aligned with the surface of the material. If the focal point sits above or below the acrylic, the beam widens, resulting in a loss of precision and clarity.
When the beam is not focused, it spreads out before hitting the target. This creates a wider, softer mark rather than a crisp, deep line. I always ensure my Z-axis is calibrated to keep the focal point exactly where the laser meets the plastic.
Common Acrylic Material Variables
Not all acrylics behave the same way under a laser. I distinguish between cast acrylic and extruded acrylic because they react differently to heat and light absorption. Cast acrylic typically produces a frosted, white engraving, while extruded acrylic often results in a clear, transparent mark.
Because these materials have different melting points and chemical compositions, they require specific focus settings. If I use the same settings for both, I often encounter unexpected issues with edge quality. Understanding these material variables is essential for consistent results.
Identifying Signs of Defocused Engraving
I look for specific visual cues to determine if my laser is out of focus. Soft, rounded edges on text or graphics are the most common indicators. Additionally, I watch for inconsistent depth across the engraving area, which suggests the material might be uneven or the focal length is drifting.
| Issue Type | Visual Symptom | Primary Cause |
|---|---|---|
| Defocused Beam | Soft, blurry edges | Incorrect Z-axis height |
| Material Mismatch | Inconsistent frosting | Wrong acrylic type |
| Thermal Stress | Melted, uneven lines | Excessive power/heat |
| Beam Alignment | Ghosting or double lines | Mirror misalignment |
Checking and Calibrating Your Laser Focal Length
Achieving perfect clarity in your projects starts with mastering the distance between your lens and the material. I have found that the most frequent cause of laser engraving quality issues is an incorrect focal distance between the lens and the workpiece. When the beam is not at its tightest point, the energy disperses, leading to soft or fuzzy edges on your acrylic.
Using Manual Focus Gauges for Precision
I always recommend using a physical focus gauge to ensure the beam is at its optimal point before starting a job. This simple tool helps in fixing blurry laser engravings by providing a consistent reference point for the distance between the nozzle and the acrylic surface. Simply place the gauge on your material and adjust the height until the tool just touches the laser head.
Verifying Auto-Focus Sensor Accuracy
Many modern machines feature auto-focus sensors, but these can become unreliable if they are dirty or misaligned. A layer of dust or smoke residue on the sensor lens can trick the machine into setting the wrong height. I make it a habit to wipe the sensor clean with a soft, lint-free cloth before every session to maintain peak performance.
Adjusting the Z-Axis for Material Thickness
When troubleshooting blurry laser engraving, you must account for the specific thickness of your acrylic sheet. Even a slight variation in material thickness can shift the focal point away from the surface. Always measure your material with calipers and manually adjust the Z-axis to ensure the laser beam converges exactly where you intend to engrave.
| Focus Method | Accuracy Level | Ease of Use | Best For |
|---|---|---|---|
| Manual Gauge | High | Moderate | Precision Work |
| Auto-Focus | Medium | High | Quick Setup |
| Z-Axis Offset | Very High | Low | Custom Thickness |
Optimizing Laser Settings for Acrylic Clarity
When I first started working with acrylic, I struggled with blurry edges until I learned to balance my laser settings. Achieving improving laser engraving clarity is not just about the machine; it is about understanding how heat interacts with the material. By fine-tuning your parameters, you can transform a dull, melted project into a crisp, professional masterpiece.
Balancing Power and Speed for Crisp Edges
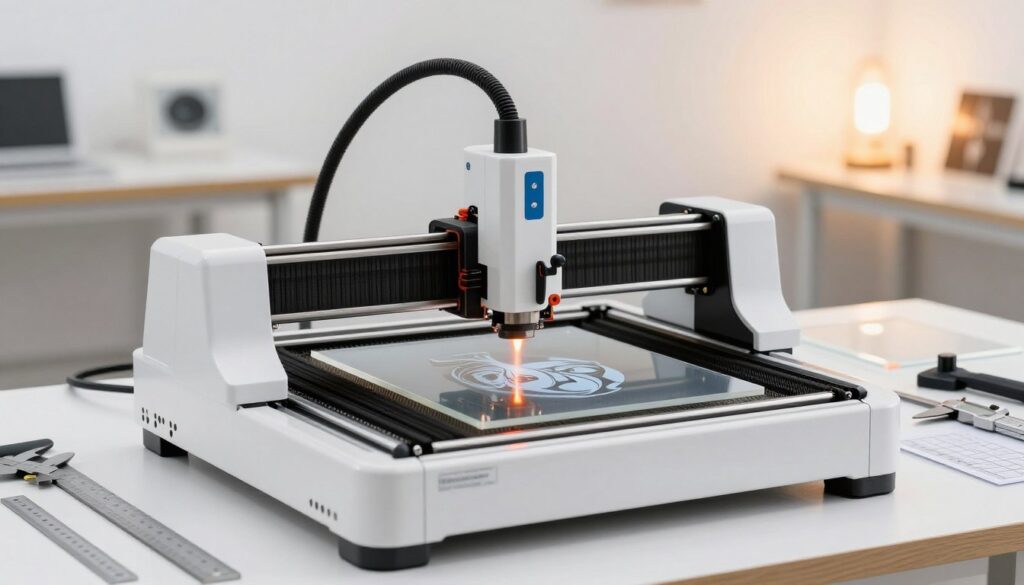
The most common mistake I see is using too much power with too little speed. This combination causes the acrylic to melt excessively, which ruins the fine details of your design. I recommend starting with lower power settings and increasing your carriage speed to find the perfect balance for your specific laser tube.
When you are optimizing acrylic laser engraving, always perform a test grid on a scrap piece of material. This allows you to see exactly how different combinations affect the edge quality without wasting expensive stock. Consistency is the key to achieving professional results every time you run a job.
Adjusting PPI and DPI Settings
Your PPI (Pulses Per Inch) and DPI (Dots Per Inch) settings dictate the resolution and density of your engraving. If your DPI is too high for the artwork, the laser may overlap its path, leading to unwanted melting. I suggest matching your DPI to the complexity of your file to ensure the laser head moves efficiently.
Adjusting these values helps in improving laser engraving clarity by preventing the laser from firing too many times in one spot. A lower PPI is often better for acrylic because it reduces the total heat input. This simple adjustment keeps the edges sharp and prevents the “frosted” look from becoming muddy.
Managing Air Assist Pressure
Air assist is a critical component that many beginners overlook. By directing a steady stream of air at the point of contact, you clear away smoke and debris before they can settle back onto the surface. This prevents the laser beam from scattering, which is a major cause of blurry engravings.
I maintain a moderate air pressure to ensure the path remains clear without cooling the acrylic too rapidly. If the pressure is too high, it can sometimes cause uneven cooling, but too little pressure allows soot to build up. Finding the right flow is essential for optimizing acrylic laser engraving and maintaining a clean, polished finish.
| Acrylic Thickness | Recommended Power | Engraving Speed | Air Assist Level |
|---|---|---|---|
| 1/8 inch | 30% – 40% | 250 mm/s | Medium |
| 1/4 inch | 45% – 55% | 200 mm/s | High |
| 3/8 inch | 60% – 70% | 150 mm/s | High |
Maintaining Your Laser Hardware for Better Quality
I have learned that consistent machine care is the secret to professional-grade engraving results. Even with perfect software settings, a dirty or misaligned machine will inevitably produce subpar output. By following a strict maintenance schedule, you are actively improving laser engraving clarity and extending the lifespan of your equipment.
Cleaning the Lens and Mirrors
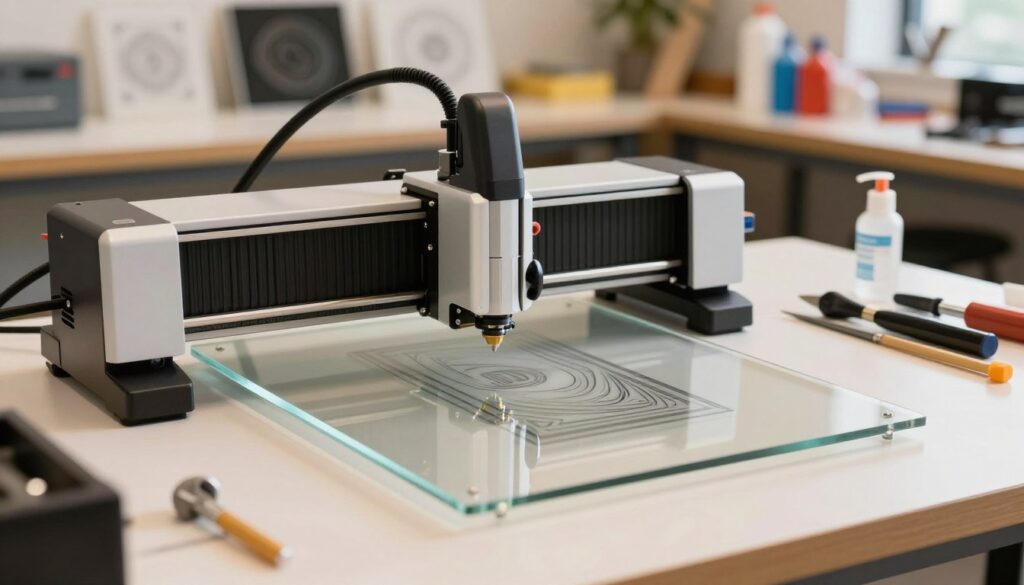
The optical path is the heart of your laser system. Over time, dust and resin vapors settle on the focus lens and mirrors, which blocks the beam and reduces intensity. I recommend cleaning these components regularly to ensure the laser hits the acrylic with full power.
- Use high-quality lens tissue and specialized cleaning solutions.
- Gently wipe the surface to avoid scratching the delicate coatings.
- Check for any stubborn residue that might cause laser engraving quality issues.
Inspecting the Beam Path Alignment
If your laser beam does not hit the center of the lens, the engraving will appear distorted or blurry. I perform a “paper test” by placing a piece of thermal paper at different points in the cutting area to verify the beam path. This ensures the laser remains consistent across the entire work bed.
Proper alignment is essential for maintaining sharp edges on your acrylic projects. If you notice the beam drifting, consult your manual to adjust the mirror mounts. This simple step prevents many common laser engraving quality issues that frustrate beginners.
Checking for Mechanical Vibrations and Belt Tension
Mechanical stability is just as important as optical precision. Loose belts or worn bearings often lead to “ghosting” or blurry lines in your finished work. I make it a habit to check the tension on my X and Y axis belts every few weeks to ensure they are firm but not overly tight.
Vibrations can ruin an otherwise perfect design by causing the laser head to jitter during movement. By tightening your belts and securing all mounting hardware, you are improving laser engraving clarity significantly. A stable machine will always deliver the crisp, clean results you expect from your acrylic projects.
Advanced Techniques for High-Quality Acrylic Engraving
Elevating the quality of my work requires moving beyond standard settings toward more sophisticated techniques. By focusing on material selection and surface protection, I am optimizing acrylic laser engraving to ensure every project meets a professional standard. These refinements help me achieve clear laser engraving results that stand out for their precision and clarity.
Selecting the Right Type of Acrylic
I have learned that the foundation of a great engraving starts with the material itself. Not all acrylics react the same way under a laser beam, which is why I prioritize specific types for my designs.
- Cast Acrylic: This is my preferred choice because it produces a beautiful, frosty white finish when engraved.
- Extruded Acrylic: While cheaper, this material tends to melt rather than vaporize, often resulting in a clear, transparent mark that lacks contrast.
Using Masking to Prevent Surface Damage
Protecting the surface of my acrylic is essential for maintaining a clean aesthetic. Without proper precautions, smoke and heat can leave unsightly residue or burn marks on the surrounding areas of the design.
I always apply a high-quality paper masking tape before starting the laser process. This simple barrier acts as a shield, absorbing the heat and preventing smoke from settling into the surface. Once the job is finished, I simply peel away the tape to reveal a pristine, professional engraving underneath.
Post-Processing Tips for a Polished Finish
Even with the best settings, a little extra care after the engraving process goes a long way. I find that a quick cleaning routine ensures my final pieces look their absolute best.
If I notice any lingering residue, I gently wipe the surface with a soft, lint-free cloth dampened with a mild plastic cleaner. For edges that appear slightly rough, I sometimes use a flame-polishing technique to restore a glass-like transparency. These final touches are vital for achieving clear laser engraving results that impress every client.
Troubleshooting Persistent Engraving Distortions
If you find that your engravings remain inconsistent despite standard adjustments, deeper technical issues might be at play. When your projects suffer from recurring quality drops, a systematic approach to laser engraving troubleshooting becomes essential. I have found that moving beyond basic calibration often reveals the root cause of these stubborn defects.
Dealing with Thermal Stress and Melting
Acrylic is highly sensitive to heat, and improper management often leads to unwanted melting rather than clean vaporization. When the laser dwells too long on a single spot, the material softens and loses its crisp edge definition. This thermal buildup is a primary driver of acrylic engraving distortions that ruin fine details.
To mitigate this, I recommend increasing your air assist pressure or implementing a multi-pass strategy with lower power settings. Allowing the material to cool slightly between passes can significantly improve the final clarity of your work. Consistent cooling is the secret to maintaining sharp, professional results on sensitive plastics.
Addressing Software and File Resolution Issues
Sometimes the problem is not the hardware, but the digital instructions sent to the machine. I always verify that my software settings match the resolution of the source file to avoid interpolation errors. If your file resolution is too low, the laser may struggle to interpret the path, leading to troubleshooting blurry laser engraving scenarios that seem mysterious.
Ensure your DPI settings are optimized for the specific material thickness you are using. A mismatch between your vector file nodes and the laser’s processing speed can cause stuttering or jagged lines. Double-checking your software export settings is a quick way to rule out digital artifacts as the source of your frustration.
When to Replace Worn Components
If you have exhausted all software and thermal adjustments, your hardware may simply be reaching the end of its service life. A degraded lens or a failing laser tube will inevitably cause acrylic engraving distortions that no amount of calibration can fix. I keep a close eye on my optics for signs of pitting or cloudiness, as these defects scatter the beam.
If you notice a persistent loss of power or a beam that refuses to focus sharply, it is likely time to replace your worn components. Investing in high-quality replacement parts is a necessary step in effective laser engraving troubleshooting. Maintaining your machine with fresh optics ensures that your output remains consistent and precise over the long term.
Conclusion
Achieving professional results on acrylic requires a blend of technical precision and patience. By systematically addressing focus, settings, maintenance, and material choice, I can resolve almost any clarity issue I encounter during my projects.
I hope this guide provides the confidence needed to perform your own laser engraving troubleshooting. Mastering these steps transforms how you interact with your Epilog or Trotec machine. You will find that small adjustments lead to significant improvements in your final products.
Consistent maintenance and careful testing remain the keys to maintaining clear laser engraving results over the long term. I encourage you to keep experimenting with your power and speed settings to find the perfect balance for your specific machine and material.
What project will you tackle next with your newfound knowledge? Share your progress and continue refining your craft to push the boundaries of what your laser can create.