I have often felt the deep frustration of watching a perfect digital design transform into a distorted shape during fabrication. When your equipment fails to maintain geometric integrity, it disrupts your workflow and wastes valuable materials.
Understanding why are my laser engraved circles coming out oval is the first step toward restoring precision to your machine. This issue usually stems from mechanical inconsistencies or software configuration errors that affect axis movement.
By addressing these common variables, I will help you ensure that your final output matches your original files exactly. Achieving professional-grade results requires a keen eye for detail and a systematic approach to troubleshooting your hardware. Let us explore the steps needed to calibrate your system for perfect performance.
Key Takeaways
- Check belt tension on both the X and Y axes to prevent uneven movement.
- Verify that your software settings match the physical resolution of your machine.
- Inspect the stepper motor drivers for signs of overheating or signal loss.
- Ensure the gantry is perfectly square to avoid geometric distortion.
- Update your firmware to resolve potential communication errors between the computer and the cutter.
Understanding why are my laser engraved circles coming out oval
When I first started working with laser cutters, I often wondered why are my laser engraved circles coming out oval. It is a common frustration that can turn a perfect design into a disappointing result. By systematically isolating the variables in my workflow, I have learned how to pinpoint exactly where the process goes wrong.
Identifying the root cause of geometric distortion
Geometric distortion typically occurs when there is a mismatch between the intended digital path and the actual physical movement of the laser head. If the machine does not move the same distance in the X-axis as it does in the Y-axis, the software’s perfect circle will stretch into an ellipse. I find that identifying the root cause requires checking if the error is consistent across all shapes or limited to specific dimensions.
Most laser engraving issues stem from a failure in the motion system to translate coordinates accurately. If the gantry or the laser head encounters resistance, the motor might skip steps, leading to distorted geometry. I always recommend performing a simple test cut of a square to see if the distortion is global or axis-specific.
Distinguishing between mechanical slippage and software errors
Distinguishing between mechanical slippage and software errors is the most critical step in my diagnostic process. Mechanical slippage often results from loose belts or worn-out pulleys that fail to grip the drive system correctly. In contrast, software errors usually involve incorrect scaling settings or misconfigured steps-per-millimeter values in the controller firmware.
If you are dealing with oval laser engraving, you must determine if the issue is a physical hardware failure or a digital miscalculation. A software-based scaling issue requires a completely different approach than a physical repair. Use the following table to help identify your specific circular engraving problems.
| Symptom | Likely Cause | Diagnostic Action |
|---|---|---|
| Consistent oval shape | Software Scaling | Check DPI and Aspect Ratio |
| Jittery or jagged edges | Mechanical Slippage | Tighten Belts and Pulleys |
| Intermittent distortion | Motor Overheating | Check Stepper Current |
| Axis-specific stretching | Calibration Error | Recalibrate Steps/mm |
Mechanical inspection and belt tension adjustments
If your laser is producing inconsistent shapes, the culprit is likely hiding in your belt tension or pulley alignment. I have found that mechanical integrity is the backbone of accurate cutting and engraving. Even a slight amount of slack in the drive system can lead to significant laser engraving distortions that ruin your project.
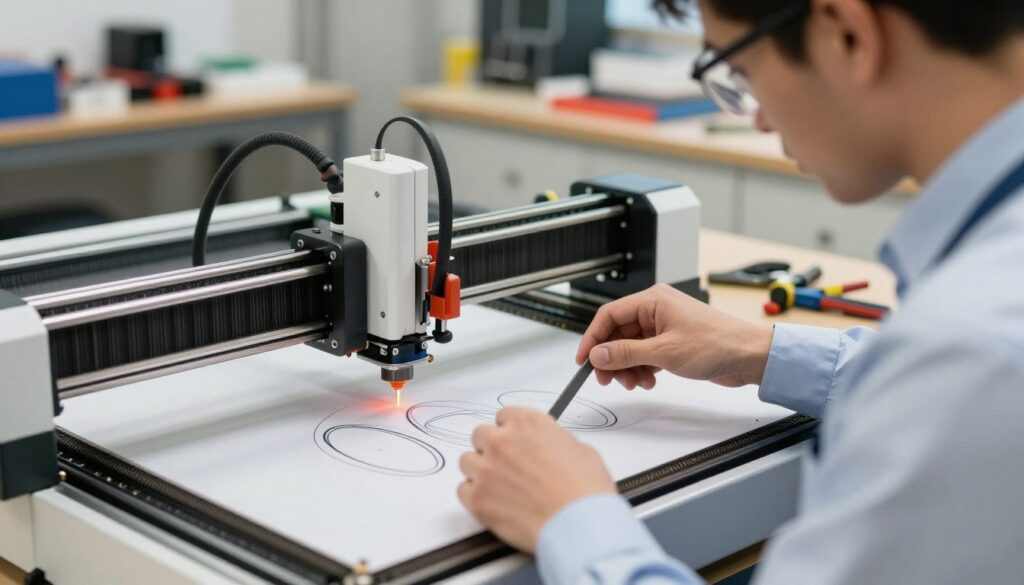
Checking X and Y axis belt tension
Proper tension is vital for maintaining the path of the laser head. When belts are too loose, the motor may rotate, but the carriage does not move immediately, causing the machine to skip steps.
Identifying loose belts on a Glowforge or xTool laser
To check your belts, gently press down on the long sections of the belt. You should feel firm resistance without significant sagging. If you notice the following, it is time for troubleshooting laser engraving:
- The belt feels spongy or loose to the touch.
- The laser head vibrates excessively during high-speed movements.
- You hear a faint clicking sound when the gantry changes direction.
Inspecting pulley alignment and set screws
Beyond belt tension, you must ensure that every mechanical component is properly secured. If a pulley is misaligned, the belt will track poorly and create uneven resistance. This often results in laser engraving issues that manifest as oval shapes instead of perfect circles.
Tightening loose motor pulleys to prevent backlash
Backlash occurs when there is “play” between the motor shaft and the pulley. I recommend checking the small set screws on your stepper motor pulleys regularly. If these screws are loose, the motor shaft will spin inside the pulley, leading to significant geometric errors.
Use a high-quality hex key to tighten these screws firmly. Ensuring that every mechanical component is locked in place will prevent the laser head from skipping steps during complex paths. By performing these routine checks, you can eliminate most common laser engraving issues and restore precision to your machine.
Software settings and calibration procedures
I often find that users overlook software calibration when troubleshooting circular engraving problems. Even a perfectly tuned machine can produce oval shapes if the software settings do not align with the physical hardware configuration. Following these laser engraving tips will help ensure your digital workspace is not inadvertently stretching your designs.
Verifying aspect ratio settings in LightBurn
The first step is to confirm that your software is not applying an unintended scale factor. Open your project in LightBurn and select your circular object to check the dimensions in the top toolbar. Ensure the lock icon is engaged so that the width and height remain proportional during any resizing.
If the aspect ratio is unlocked, a simple input error can cause significant laser engraving distortions. Always verify that the X and Y values are identical for a perfect circle. This quick check often resolves issues where designs appear squashed or elongated on the material surface.
Performing a squareness calibration test
To determine if your machine is physically square, I recommend running a simple test pattern. Create a large square in your software and engrave it onto a piece of scrap material. Use a digital caliper to measure the diagonals of the resulting shape.
If the diagonals are not equal, your gantry is likely out of alignment. This discrepancy often leads to laser etching imperfections that manifest as oval shapes instead of true circles. Correcting the physical squareness of your frame is essential before you attempt to adjust software parameters.
Adjusting steps per millimeter in controller firmware
If your hardware is square but your circles remain oval, you may need to calibrate the steps per millimeter in your controller firmware. This setting tells the laser how many motor pulses are required to move the gantry one millimeter. If this value is incorrect, the machine will travel a different distance than what the software commands.
You can calculate the correct value by engraving a line of a known length and measuring the actual output. Use the formula: (Expected Distance / Actual Distance) * Current Steps = New Steps. Updating this value in your firmware ensures that your laser movements are precise and consistent across both axes.
Advanced hardware troubleshooting for laser systems
I often find that persistent geometric errors stem from hidden mechanical misalignments rather than simple settings. When basic belt adjustments and software calibrations fail to resolve oval laser engraving, you must look deeper into the structural integrity of your machine. This process ensures that your hardware can handle complex paths without losing precision.
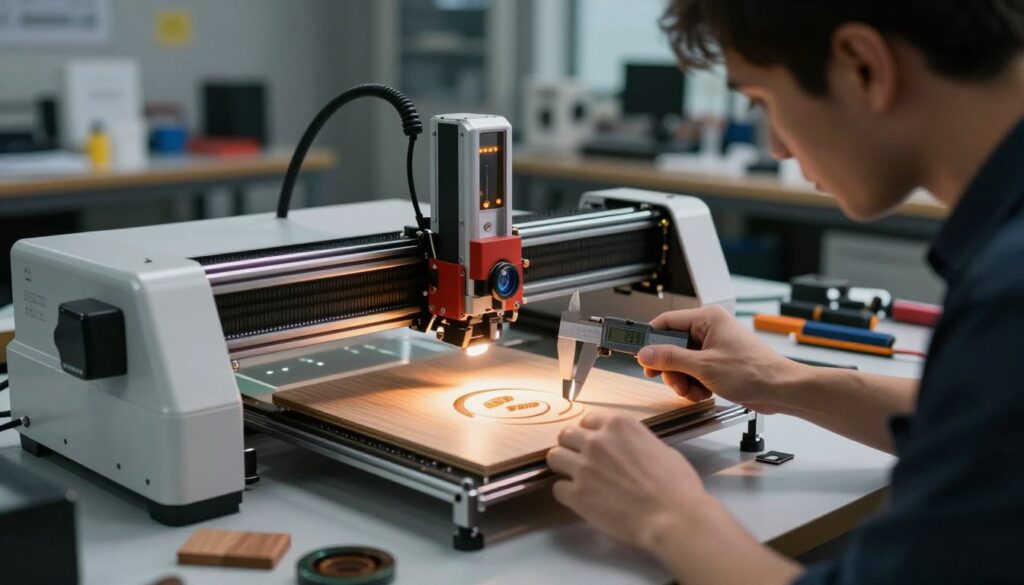
Evaluating stepper motor performance
The stepper motors are the heart of your machine’s movement. If a motor receives inconsistent power, it may skip steps during high-speed circular movements, leading to distorted shapes. I recommend checking the motor drivers for overheating and ensuring that the wiring harnesses are secure and free from interference.
Consistent power delivery is vital for maintaining accuracy. If you notice a specific motor running hotter than others, it might indicate a failing driver or a mechanical bind that forces the motor to work harder than intended.
Checking for frame racking and gantry squareness
Frame racking occurs when the machine chassis is not perfectly rectangular. Even a slight deviation in the frame can cause the gantry to travel at an angle, which inevitably results in troubleshooting laser engraving challenges. You should measure the diagonals of your machine bed to verify that the frame is truly square.
Squaring the laser gantry to the machine bed
To fix gantry squareness, I use a precision machinist square against the side rails. You must loosen the gantry mounting bolts slightly to allow for minor adjustments before tightening them back into a perfectly perpendicular position. These advanced oval engraving solutions are necessary for maintaining long-term machine accuracy and preventing recurring geometric imperfections.
| Symptom | Potential Cause | Recommended Action |
|---|---|---|
| Consistent Ovality | Gantry Misalignment | Square the frame |
| Erratic Distortion | Stepper Motor Slip | Check motor current |
| Stair-stepping | Loose Pulley | Tighten set screws |
Conclusion
Achieving perfect circles requires a blend of regular mechanical maintenance and precise software calibration. I find that staying proactive with these laser engraving tips keeps my equipment running at peak performance levels.
You can effectively diagnose and resolve the root causes of oval engraving solutions by keeping a close eye on your machine. I suggest performing these checks periodically to maintain the highest quality standards for your laser etching projects.
Consistent attention to these details prevents common laser etching imperfections from ruining your hard work. My experience shows that a well-maintained machine remains a reliable tool for all your creative endeavors.
I invite you to share your progress or reach out if you encounter specific challenges with your hardware. Your commitment to precision elevates the quality of every piece you produce.